
How To Setup Blog/OwnCloud/ChatServer/MailClient At Extremely Cheap Cost.

What you need :
- Raspberry Pi / Raspberry Pi 2 / Cubieboard2 / Cubietruck
- Sdcard to install ArkOS in it.
- Another desktop/Laptop to access Genesis GUI
- Lot of patience
1) Download ArkOS from #-Link-Snipped-# in your machine.
2) Unzip and/or tar xvzf the .zip and .tar.gz file, respectively.
3) Insert Sdcard in your machine and
5) From your desktop/laptop login via ssh with login id 'root' and password 'root'
6) Update the ArkOS system:
9) After 4-5 minutes, look at the ip of your development board from router and open Genesis GUI by typing following in browser :
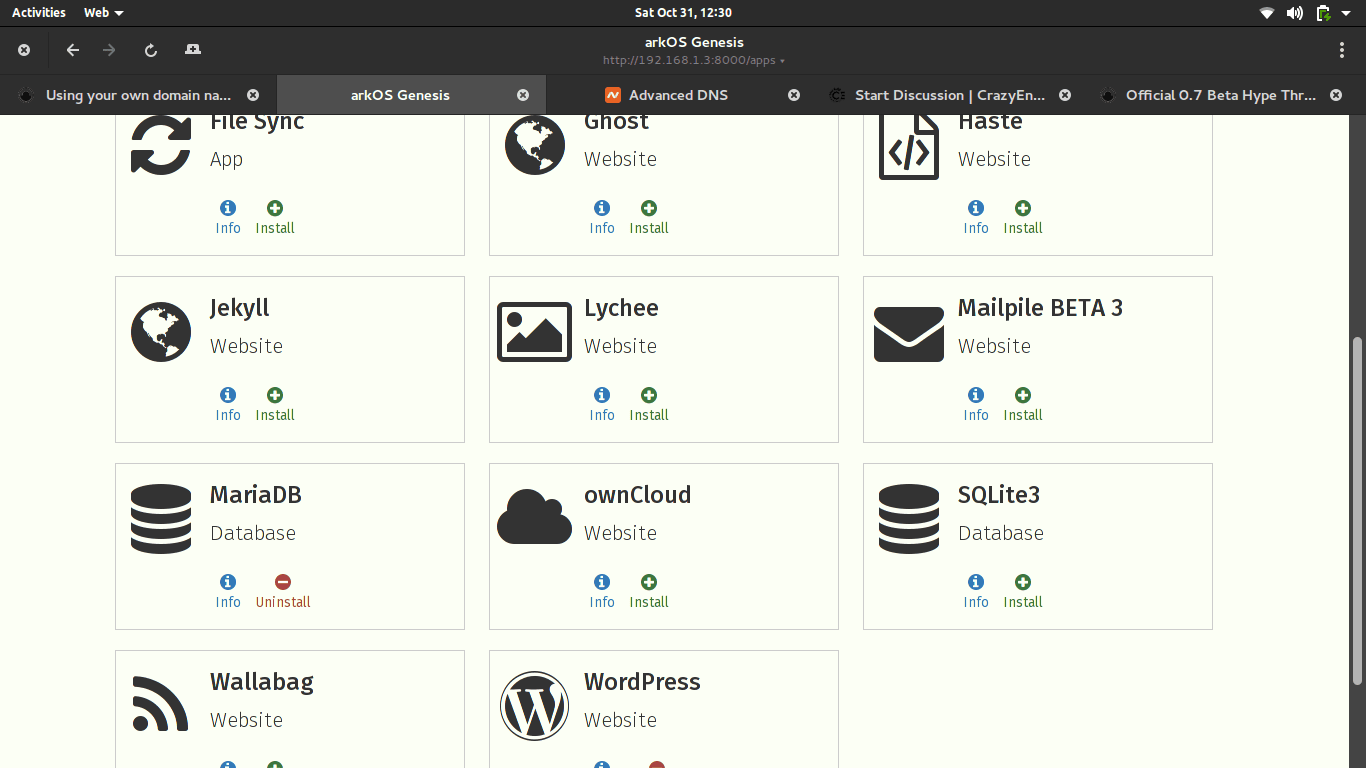
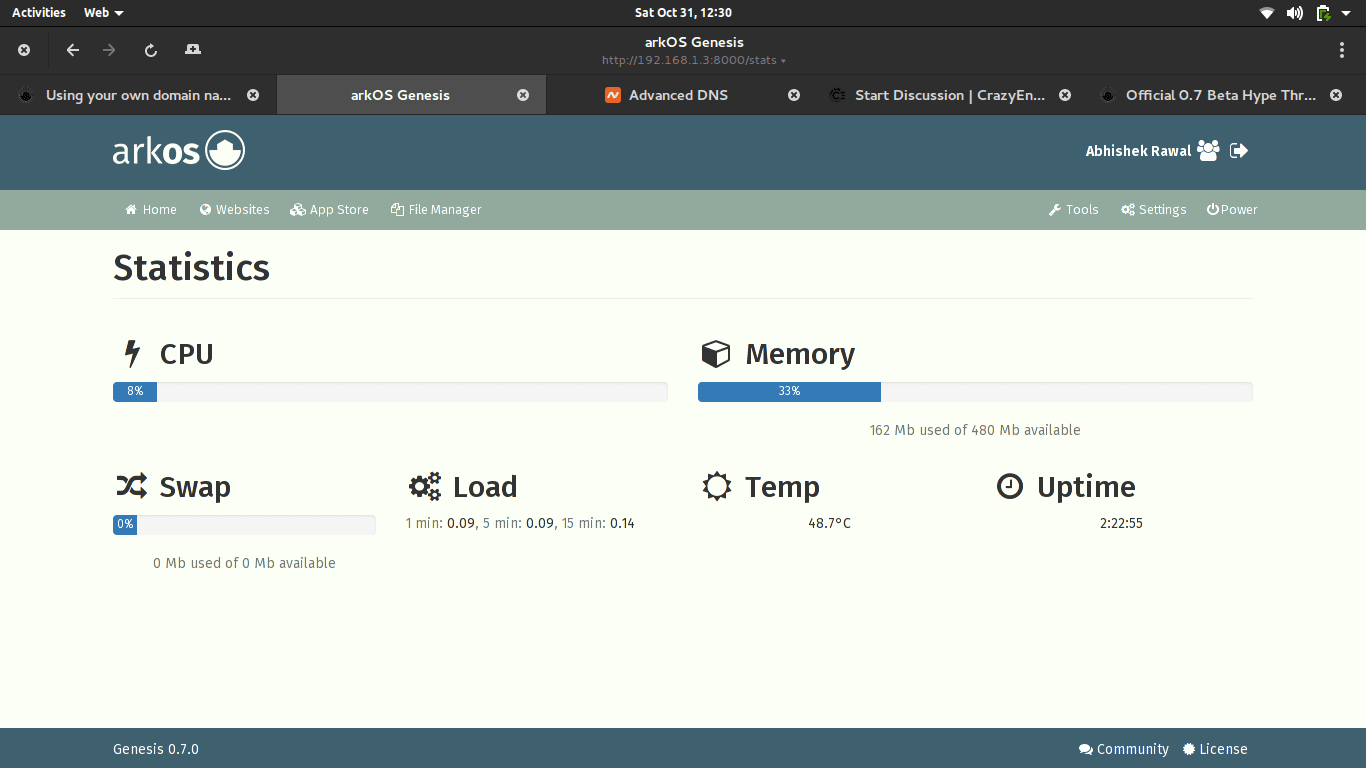
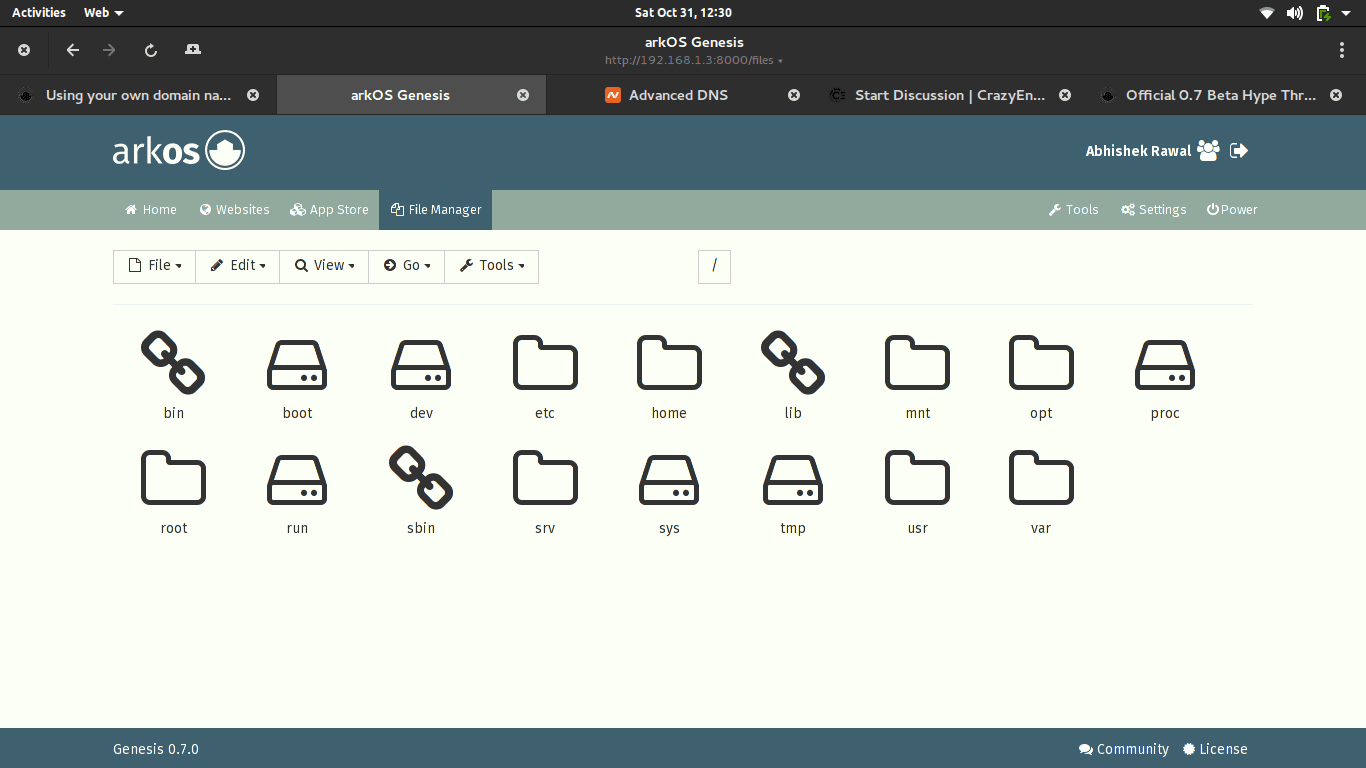
Genesis UI looks like :
10) Now purchase a domain name from whichever service provider you prefer. I recommend namecheap though.
11) Once domain name is registered, open Genesis GUI and install Wordpress. Time it will take to complete the task depends upon the development board speed and internet speed.
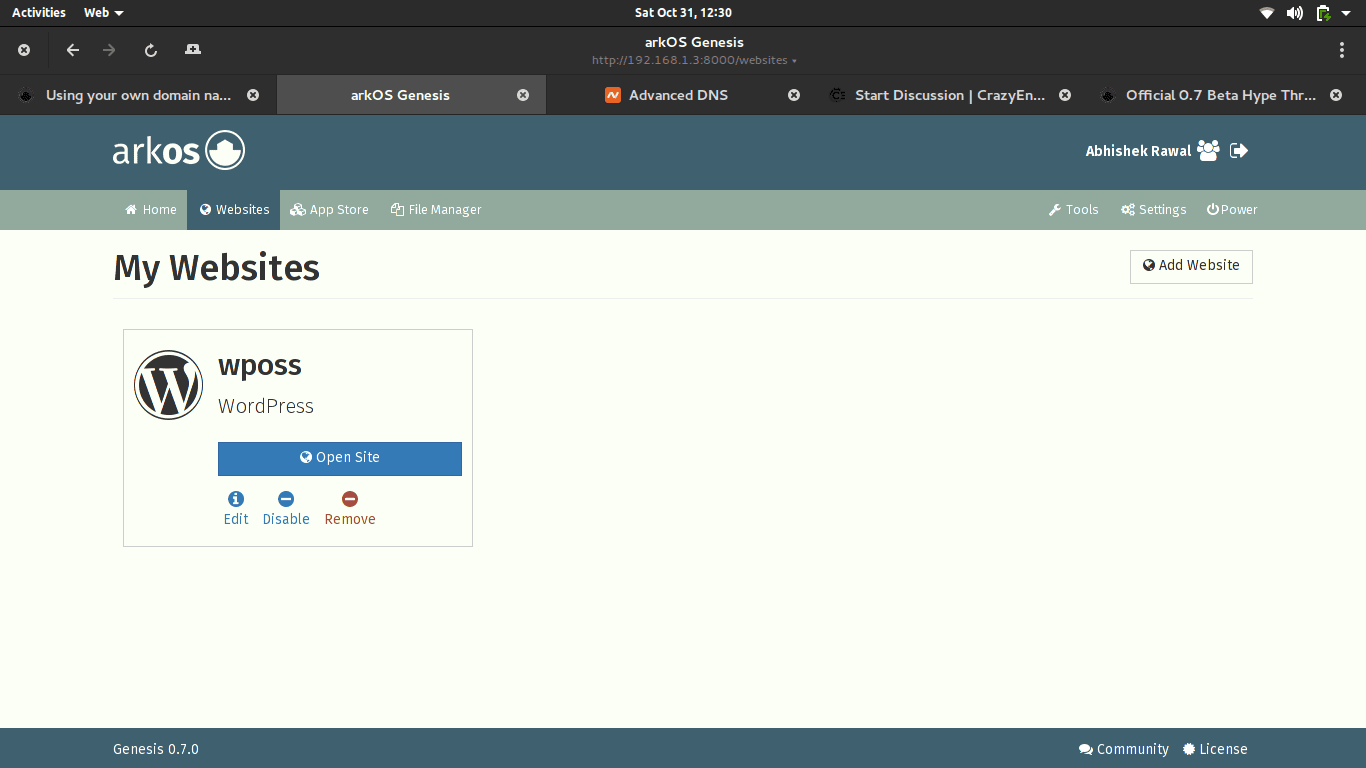
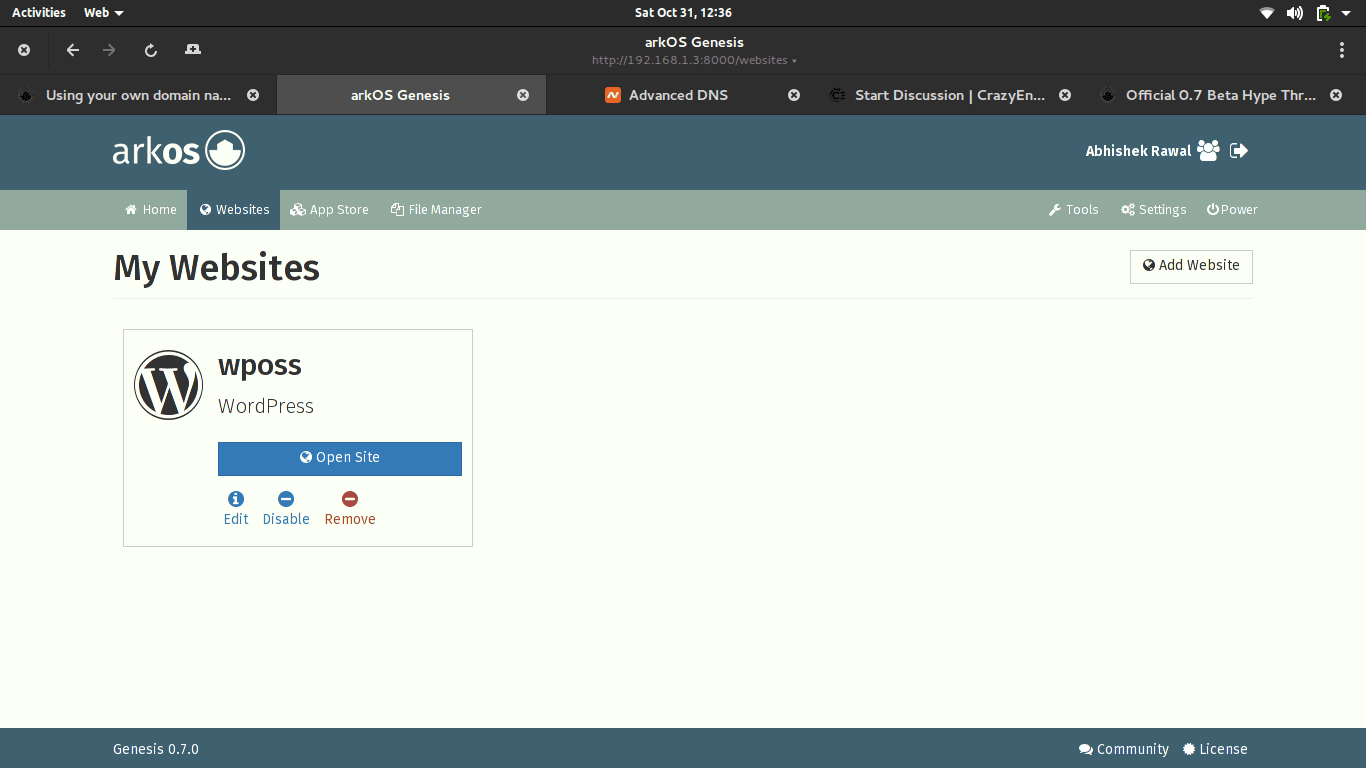
12) Once WP is installed, it will notify you that Wordpress has been successfully installed. Now go to Genesis GUI -> Websites -> Add Websites and hit on your Wordpress website.
It should look something like :
13) Server requires static IP and most ISP doesn't provide static IP for free. What really happens that the IP changes every short period of time, making server inaccessable. To avoid this, we will use Free DDNS service provided by cheapname and using ''ddclient' we will refresh dynamic IP and send it to cheapname database and we will be able to host website from home server.
14) Go to cheapname.com -> Domains -> FreeDNS. Write your domain you purchased before and hit on 'Get DNS' and click on checkout, this will cost you free. Once done, fill in the details, it asks for and later in panel, go to 'Advanced DNS', under 'Dynamic DNS' flip the switch from 'off' to 'on' and the md5 hash will be generated, save it some safe place as it will be used later in next phase.
15) Install ddclient in ArkOS
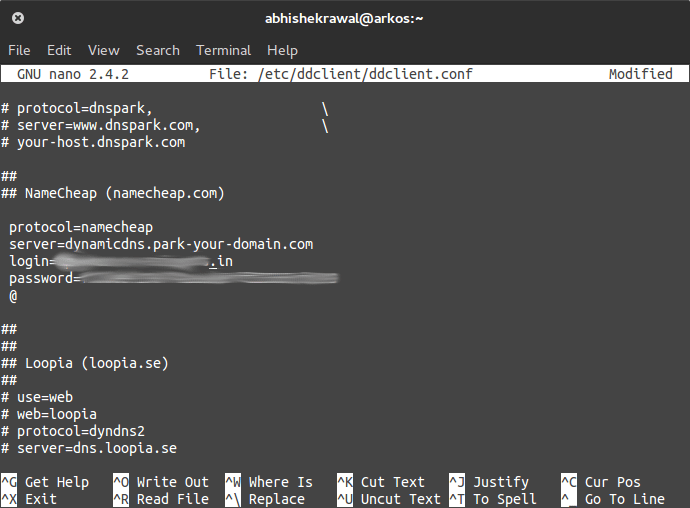
Login = the domain name you registered (for eg : lasergunspewpewpew.com)
password = md5 hash that was generated which I asked you to save
and last line should be '@' if your domain looks like #-Link-Snipped-# or change to 'www' if it looks like #-Link-Snipped-#
Press Ctrl+X and save it.
19) Now enable ddclient at startup
22) Do port-forwarding in your router for your IP of Raspberry Pi.
23) Lastly, open namecheap.com and under host records, add the host for your IP and you're done.
Your blog is live on internet.
Note : Pardon me if it looks so messy, I wrote this in mere 10 minutes as I am getting late for work. I will refine the post later on.
- Raspberry Pi / Raspberry Pi 2 / Cubieboard2 / Cubietruck
- Sdcard to install ArkOS in it.
- Another desktop/Laptop to access Genesis GUI
- Lot of patience
1) Download ArkOS from #-Link-Snipped-# in your machine.
2) Unzip and/or tar xvzf the .zip and .tar.gz file, respectively.
3) Insert Sdcard in your machine and
sudo dd if=filename.img of=/dev/mmcblk04) After OS is installed in sdcard, insert it in your development board and boot it.
5) From your desktop/laptop login via ssh with login id 'root' and password 'root'
6) Update the ArkOS system:
sudo pacman -Syu7) I did noticed that iptables were not loaded at startup. To enable iptables service at startup:
sudo cp /etc/iptables/empty.rules /etc/iptables/iptables.rules8) Reboot the system and wait for 4-5 minutes as in traditional RPi it takes quite lot time to start Genesis GUI interface. While it is loading, you can check whether the service is enabled or not by:
sudo systemctl status krakend
sudo systemctl status iptablesIt shoud show 'running'.
9) After 4-5 minutes, look at the ip of your development board from router and open Genesis GUI by typing following in browser :
192.168.1.3:8000In your case it could be 192.168.1.7, 192.168.1.6 or whatever (192.168.x.x). After typing that in browser, It should open the Genesis/Kraken GUI and it will ask you to setup the username and password, which is pretty easy like filling the form.
Genesis UI looks like :
10) Now purchase a domain name from whichever service provider you prefer. I recommend namecheap though.
11) Once domain name is registered, open Genesis GUI and install Wordpress. Time it will take to complete the task depends upon the development board speed and internet speed.
12) Once WP is installed, it will notify you that Wordpress has been successfully installed. Now go to Genesis GUI -> Websites -> Add Websites and hit on your Wordpress website.
It should look something like :
13) Server requires static IP and most ISP doesn't provide static IP for free. What really happens that the IP changes every short period of time, making server inaccessable. To avoid this, we will use Free DDNS service provided by cheapname and using ''ddclient' we will refresh dynamic IP and send it to cheapname database and we will be able to host website from home server.
14) Go to cheapname.com -> Domains -> FreeDNS. Write your domain you purchased before and hit on 'Get DNS' and click on checkout, this will cost you free. Once done, fill in the details, it asks for and later in panel, go to 'Advanced DNS', under 'Dynamic DNS' flip the switch from 'off' to 'on' and the md5 hash will be generated, save it some safe place as it will be used later in next phase.
15) Install ddclient in ArkOS
sudo pacman -S ddclient16) Login to domain registrar and change the name servers to
freedns1.registrar-servers.com
freedns2.registrar-servers.com
freedns3.registrar-servers.com
freedns4.registrar-servers.com
freedns5.registrar-servers.com
17) edit ddclient.conf now on ArkOS :
sudo nano /etc/ddclient/ddclient.conf18) Scroll down and you'll see something like :
Login = the domain name you registered (for eg : lasergunspewpewpew.com)
password = md5 hash that was generated which I asked you to save
and last line should be '@' if your domain looks like #-Link-Snipped-# or change to 'www' if it looks like #-Link-Snipped-#
Press Ctrl+X and save it.
19) Now enable ddclient at startup
sudo systemctl enable ddclientand then restart the service
sudo systemctl restart ddclient20) Change permissions
sudo chown YOUR-USERNAME:YOUR-USERGROUP /etc/ddclient/ddclient.conf && sudo chown YOUR-USERNAME:YOUR-USERGROUP /var/cache/ddclient && sudo chmod 700 /var/cache/ddclient21) Now open Genesis GUI and -> Settings -> Networking -> Hosts, and setup host with your domain.
22) Do port-forwarding in your router for your IP of Raspberry Pi.
23) Lastly, open namecheap.com and under host records, add the host for your IP and you're done.
Your blog is live on internet.
Note : Pardon me if it looks so messy, I wrote this in mere 10 minutes as I am getting late for work. I will refine the post later on.
0